
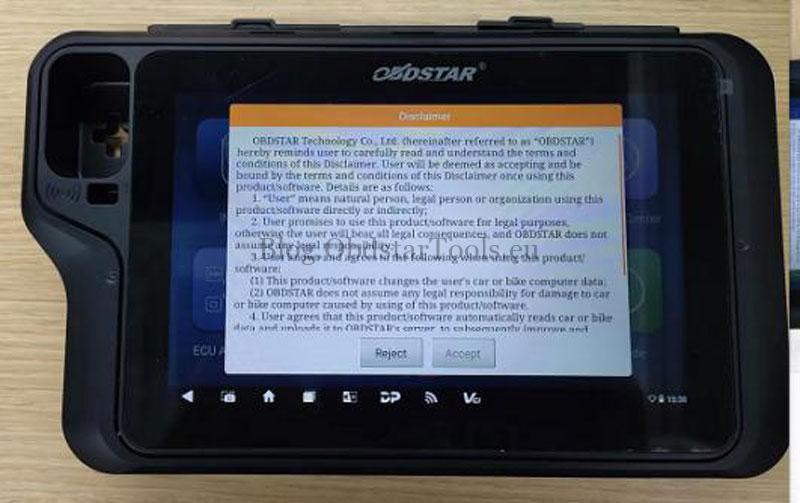
This guide provides a clear, step-by-step solution for diagnosing and repairing a common power-on failure in the OBDSTAR X300 Classic G3(KeyMaster G3), an essential tool for Car Key Programming. If your device won’t start, it is often due to a short circuit in components U17 and L8. Follow these instructions to restore your key programmer to working order.
Tools Required:
Screwdriver
Multimeter
Soldering Iron or Hot Air Gun (Temperature setting: 350±10∘C)
Replacement Components: U17, L8 (1uH Inductor)
Step-by-Step Repair Instructions
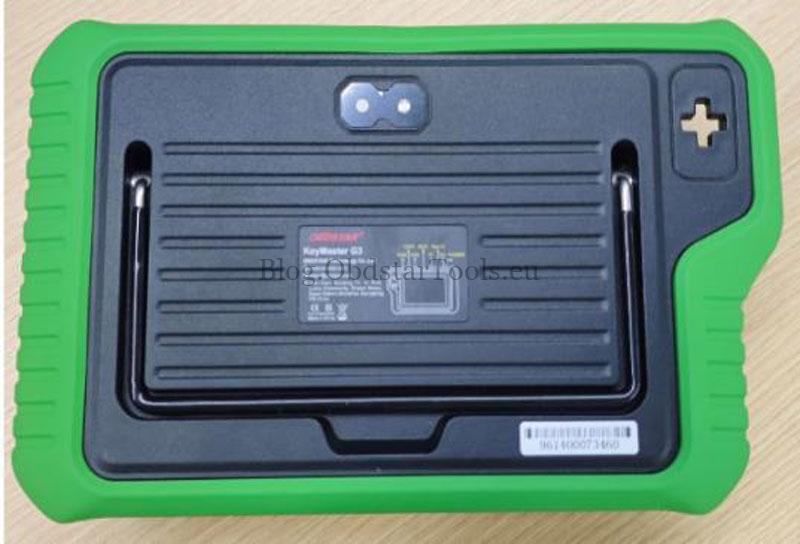
Step1. Disassemble the Device
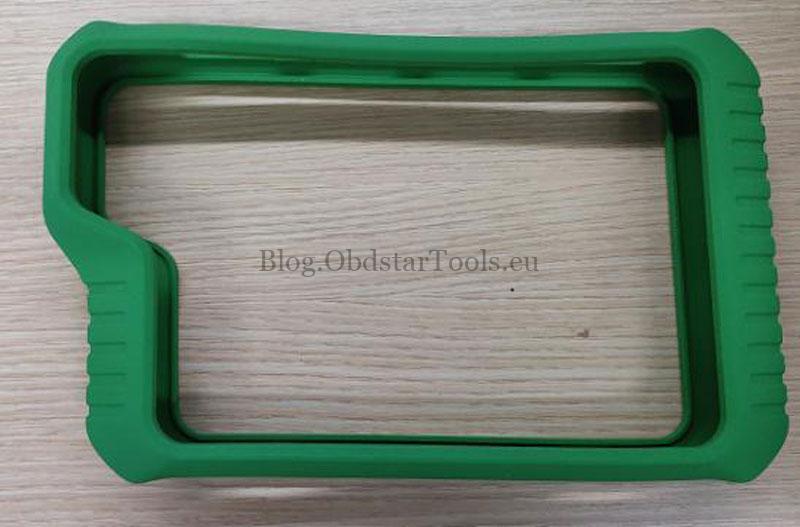
- Remove the rubber caseof OBDSTAR X300 G3.
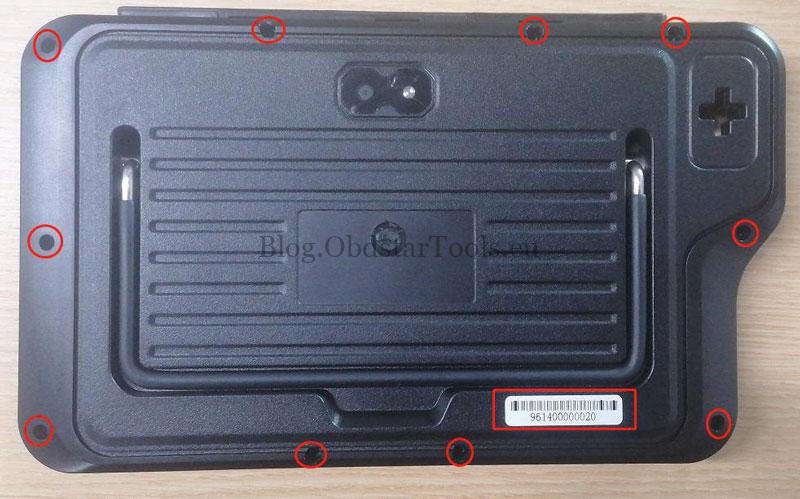
- Unscrew and remove the internal hex screws.

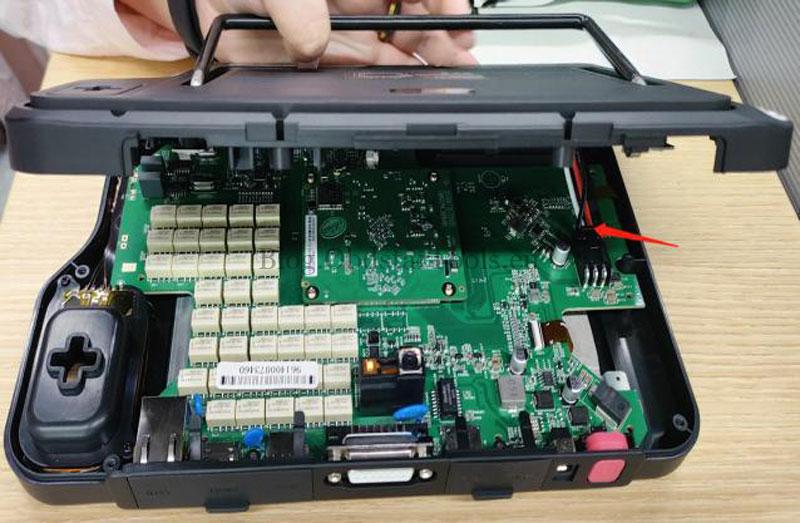
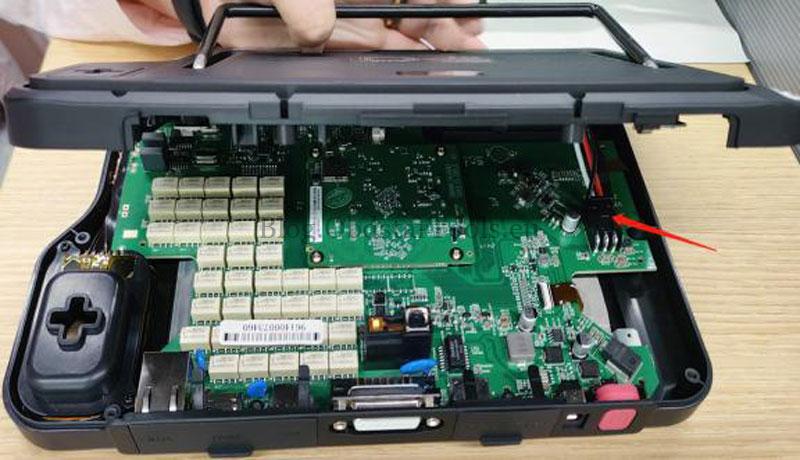
Step2. Disconnect the Battery
- Open the back cover.
- Press down on the battery connector clip and gently unplug the cable.
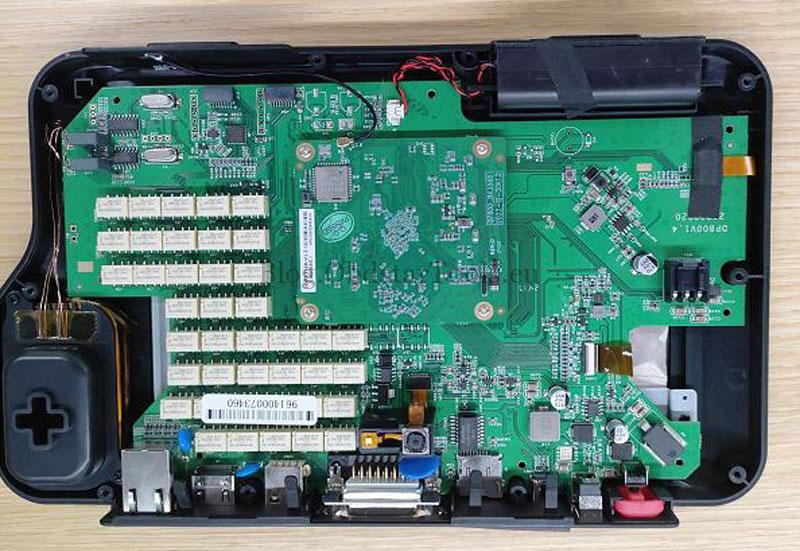
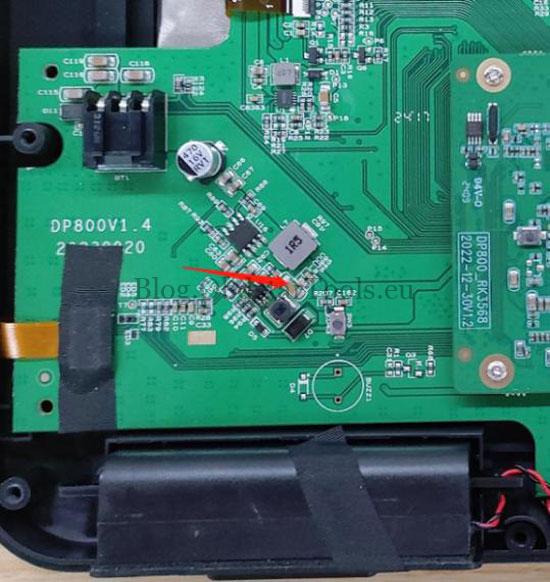
Step3. Diagnose the Short Circuit
- Set your multimeter to the Ohms (Ω) range.
- Measure the resistance across capacitor C75.
- Fault Identified: If the reading is approximately 0Ω, components U17 and L8 are shorted and require replacement.
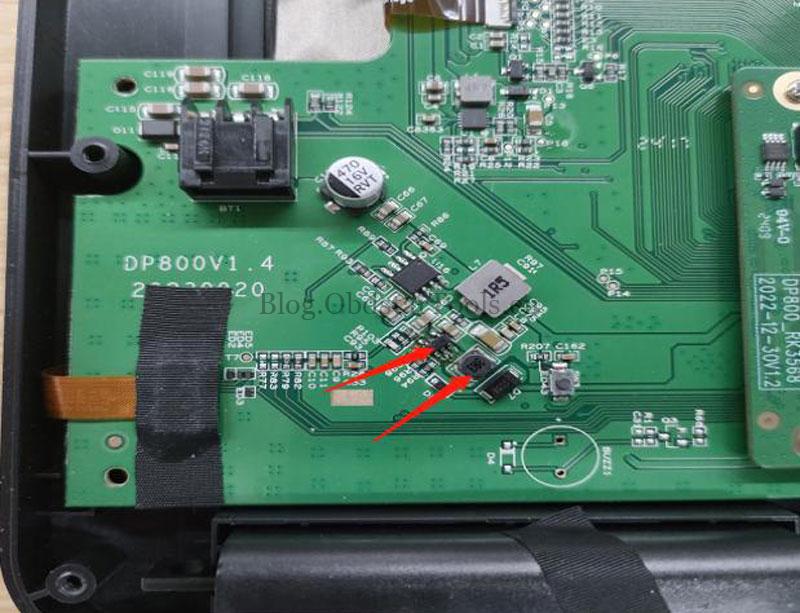
Step4. Replace Faulty Components
- Use a soldering iron or hot air gun to desolder and remove the damaged U17 and L8.
- Install the new components, ensuring L8 is replaced with a 1uH inductor.

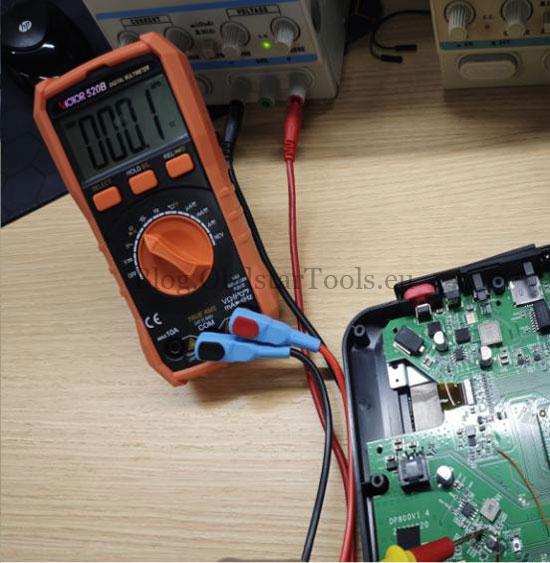
Step5. Verify the Repair
- Before reassembling, measure the resistance across C75 again.
- Success Confirmation: A correct reading of approximately 1.36kΩ indicates the short circuit has been resolved.

Step6. Reassemble and Test
- Reconnect the battery cable and reassemble the housing.
- Press the power button. The device should now start up normally.
Step7. Final Assembly
Secure all screws and reinstall the rubber case.

Conclusion
By replacing the shorted components U17 and L8, you can effectively fix the power-on issue and restore your OBDSTAR Key Master G3‘s functionality. This repair addresses the most common cause of failure, getting your essential tool back in operation.
Technical Support
Email: sales@obdstartools.eu
WhatsApp/Mobile/Wechat: +86 15972933706
Skype: OBDStarTools.eu