
This OBDSTAR Display & VCI Mainboard Professional Repair Guide provides step-by-step instructions for replacing the LCD display screen, Android motherboard, and VCI motherboard for the OBDSTAR X300 PRO4, P50, and Odomaster.
Required Service Tools
To perform these replacements safely, ensure you have the following:
- Electric Screwdriver (or a standard precision Phillips head screwdriver).
- Anti-static Pry Tool (recommended for opening the casing and lifting clips).
- Replacement Acetate Cloth/Tape (to reseal ribbon cable connections).
I. Device Disassembly
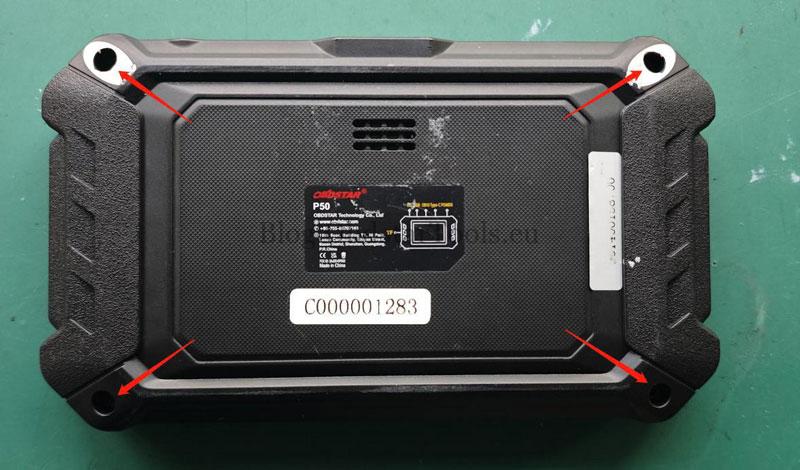
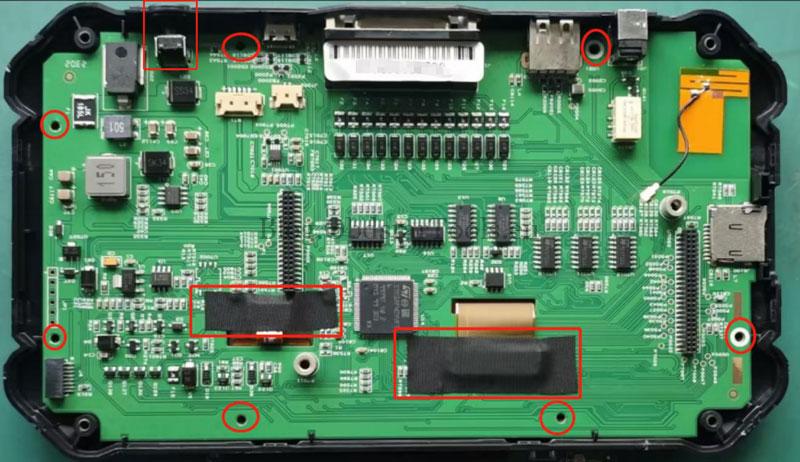
- Open the Chassis: Use a screwdriver to remove the 4 screws securing the back cover.
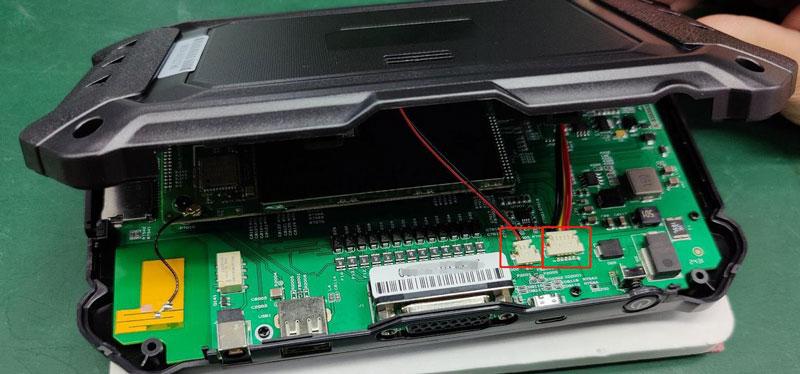
- Disconnect Power & Audio: Carefully lift the back cover and unplug the battery and speaker cables from the board.
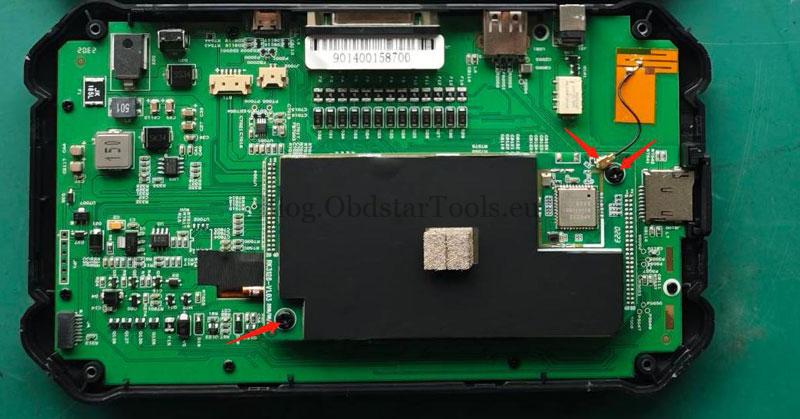
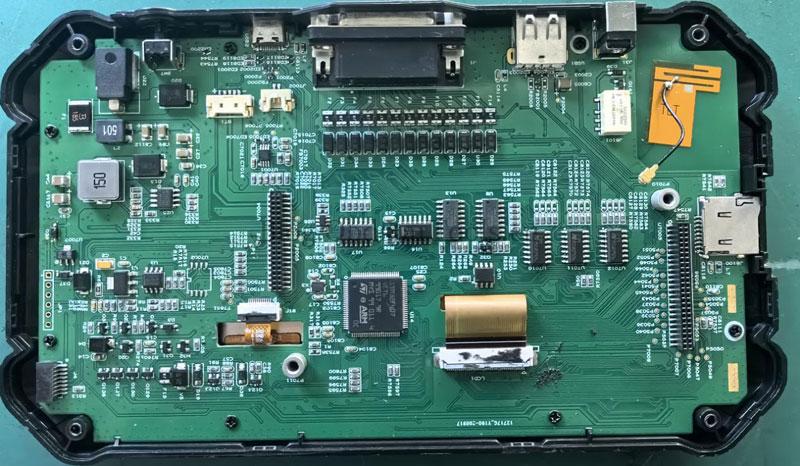
- Extract Android Motherboard:
- Remove the 2 fixing screws from the Android motherboard.
- Unplug the antenna connection cable by hand.
- Grasp both ends of the board and pull it upward to remove it.
II. VCI Board & Screen Removal
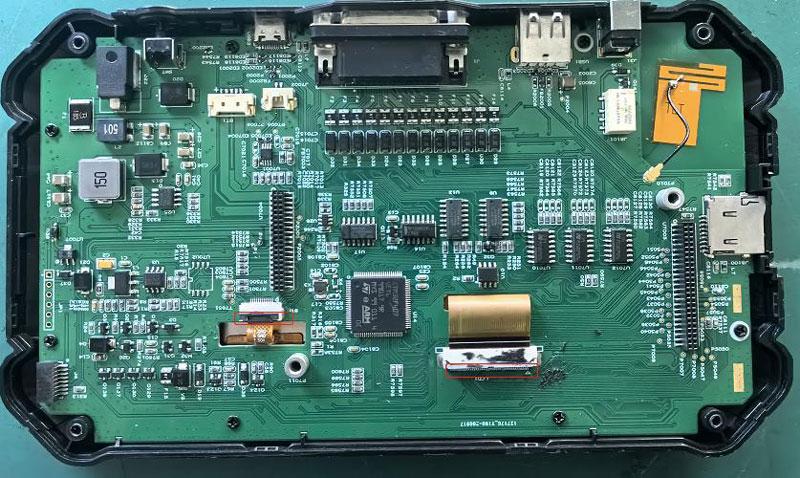
- Access Ribbon Cables: Remove the fixing screws on the VCI motherboard and peel off the acetate cloth protecting the touch screen and display cables.
- Remove VCI Board: Take out the power switch button, lift the cable clips to release the display and touch screen ribbon cables, and remove the VCI board.
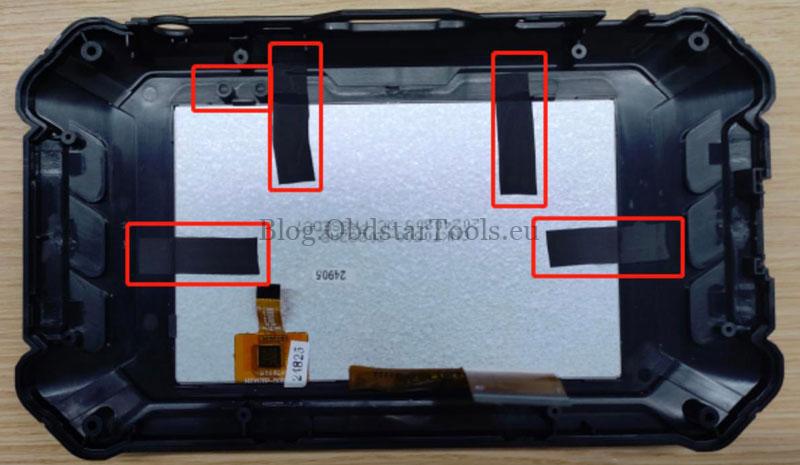
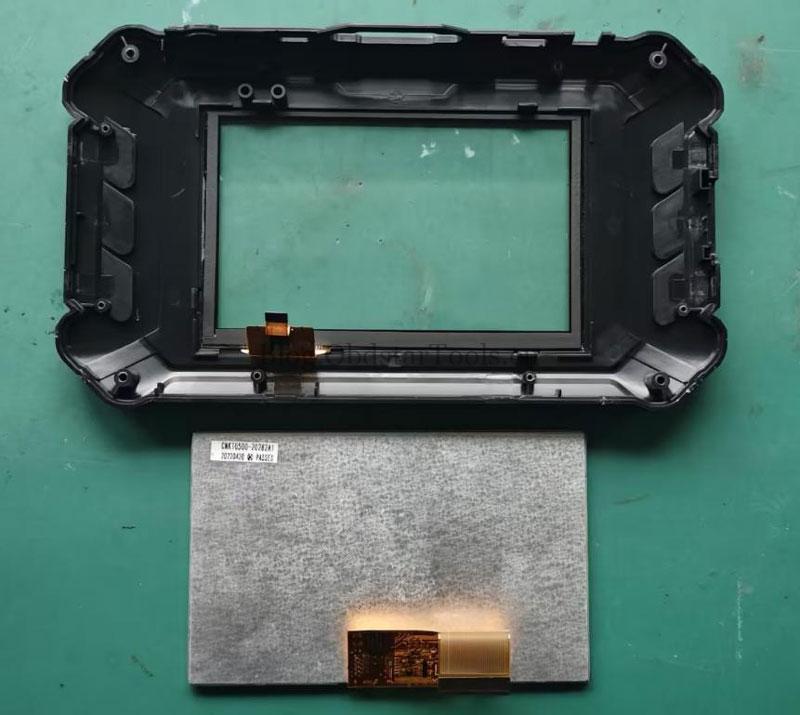
- Detach Display: Remove the light guide, then push open the positioning latches by hand to release the display screen from the frame.
III. Reassembly & Installation
- New Screen Setup: Install the new display screen and reinstall the light guide and acetate paper.
- Reinstall Boards:
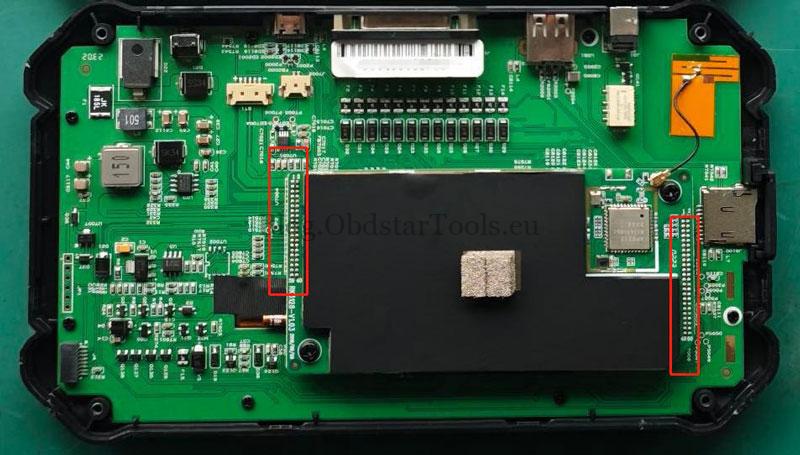
- Pass the display and touch screen cables through the center of the VCI motherboard and align the board with the locking screws.
- Secure the VCI board screws and the power switch.
- Insert the Android motherboard into the VCI board, then reinstall its fixing screws and antenna clips.
- Final Assembly: Reconnect the battery and speaker cables before closing the rear cover and securing it with the 4 external screws.
Important Technical Notes
- Post-Installation Abnormalities: If the device fails to boot or the display is abnormal after replacement, contact support with your device serial number.
- Account Synchronization: When replacing a VCI motherboard, you must contact your dealer to sync account info. You will need to provide both the old and new VCI serial numbers.
Technical Support
If you require further assistance or need to order genuine replacement parts, please contact us:
Email: sales@obdstartools.eu
WhatsApp/Mobile/Wechat: +86 15972933706
Skype: OBDStarTools.eu
Website: www.obdstartools.eu